太逼真!kimi k2 实现 3D 地球!附源码
这几天 kimi k2 很热,玩了一下效果很不错。
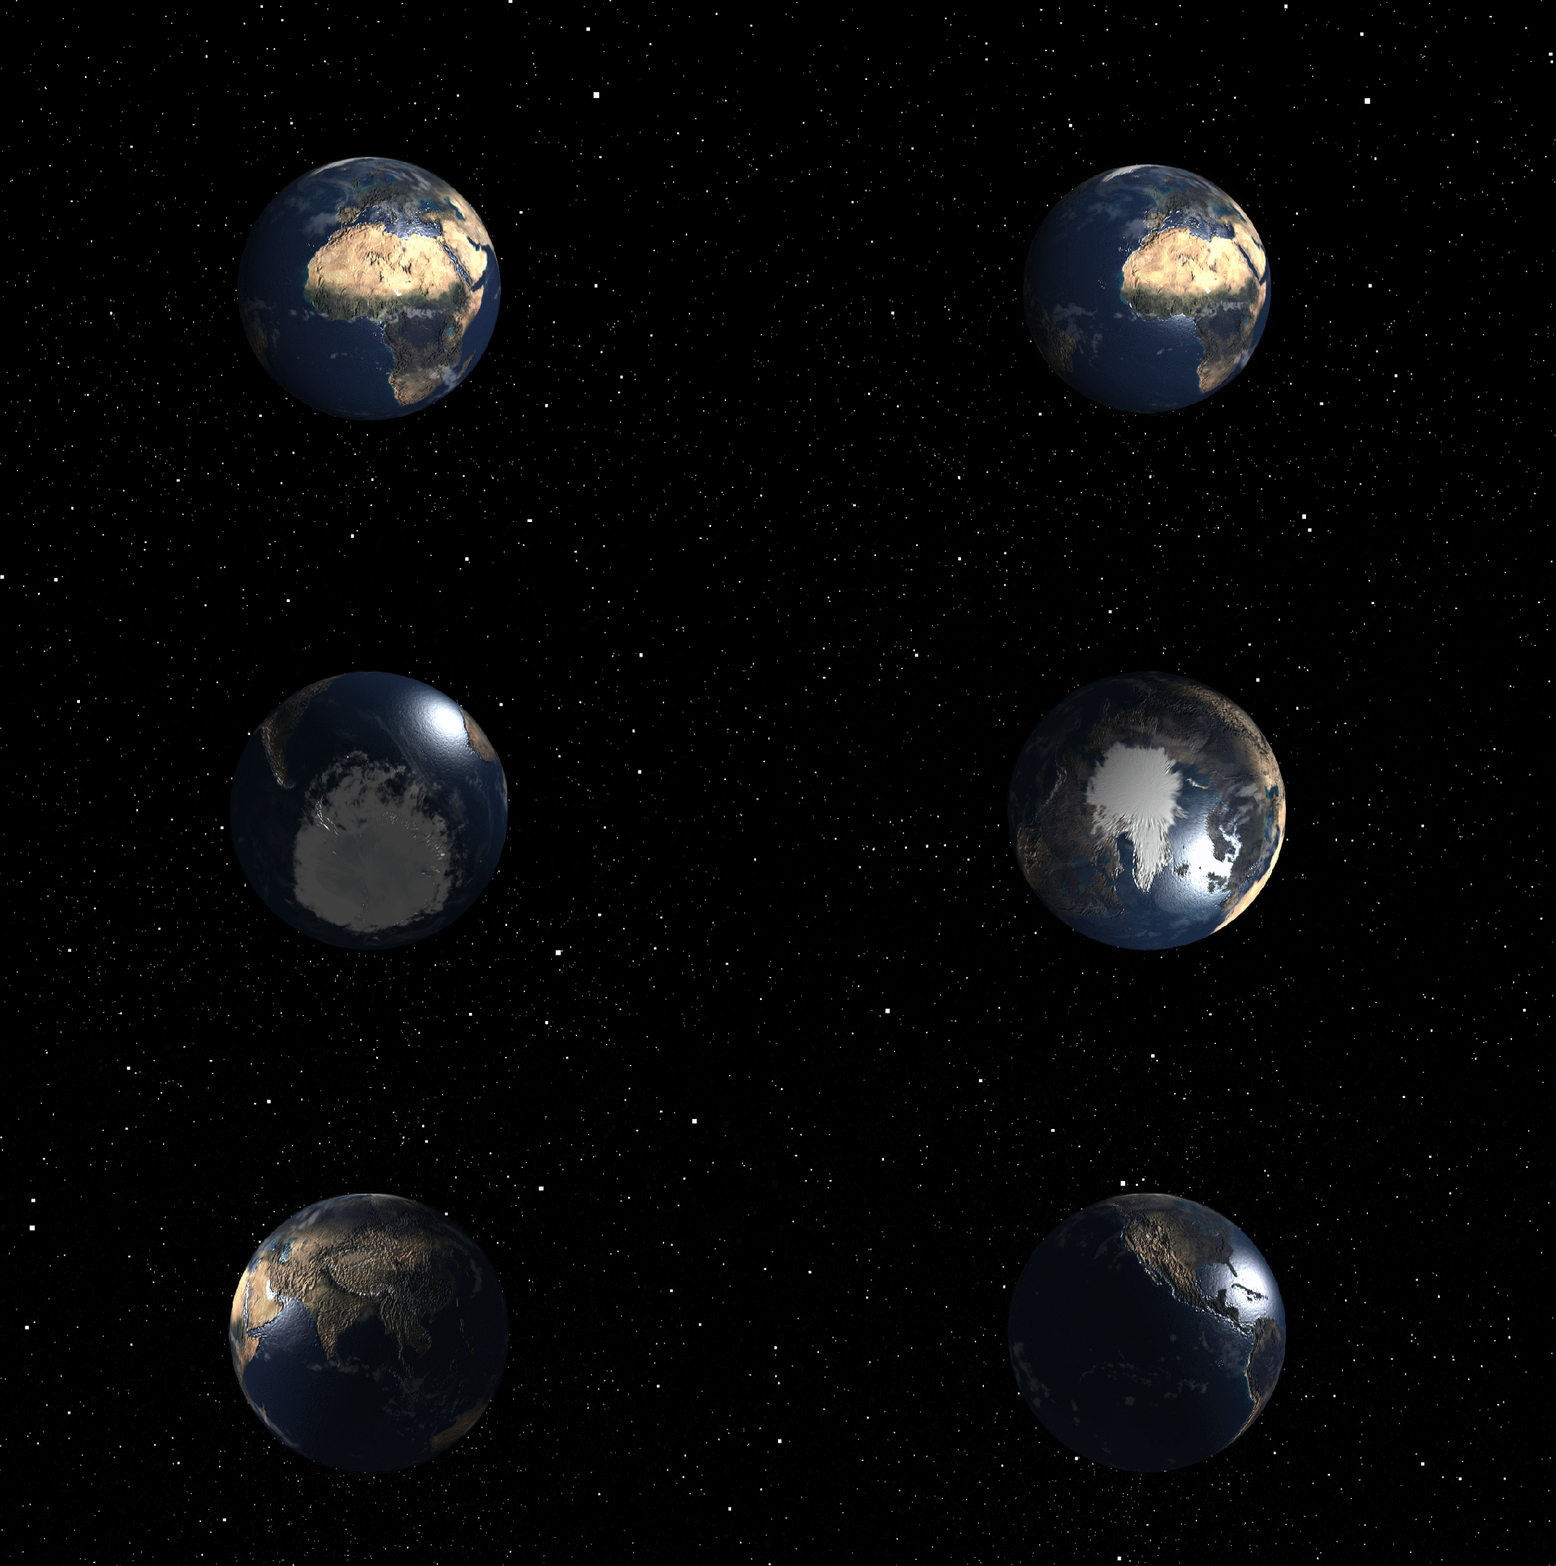
我写了个提示词,让 kimi k2 实现 3D 地球。
效果如下:

而这体现出来了多模态编程能力 + 三维图形理解能力。
提示词:
你是一个熟练的前端开发者,请使用 Three.js 创建一个自转的 3D 地球,并添加星空背景和鼠标旋转控制器。
要求:
1. 使用高清地球贴图
2. 添加 OrbitControls 支持交互旋转
3. 自动自转效果
4. 最好输出为完整 HTML + JS 结构
源码我放在文末了,可以自行获取~
这次的 Kimi K2 是专家混合(MoE)模型,拥有 320 亿个激活参数和 1 万亿个总参数,上下文长度 128k,专为 Agentic 任务优化,在代码、数学推理和工具使用方面表现优异。
在非思考模型中的前沿知识、数学和编码方面达到了最先进的性能。
但它更进一步——经过精心优化用于智能体任务,Kimi K2 不仅回答问题,还能采取行动。
根据官方透露的信息,Agent 功能正在灰度测试阶段,期待~
<!DOCTYPE html>
<htmllang="zh-CN">
<head>
 <metacharset="UTF-8">
 <metaname="viewport"content="width=device-width, initial-scale=1.0">
 <title>3D 自转地球</title>
 <style>
 body {
 margin: 0;
 padding: 0;
 overflow: hidden;
 font-family: Arial, sans-serif;
        }
 #container {
 width: 100vw;
 height: 100vh;
        }
 #info {
 position: absolute;
 top: 10px;
 left: 10px;
 color: white;
 background: rgba(0, 0, 0, 0.5);
 padding: 10px;
 border-radius: 5px;
 font-size: 14px;
        }
 </style>
</head>
<body>
 <divid="container"></div>
 <divid="info">
        鼠标左键拖动旋转视角<br>
        鼠标滚轮缩放<br>
        右键拖动平移
 </div>

 <scriptsrc="https://cdnjs.cloudflare.com/ajax/libs/three.js/r128/three.min.js"></script>
 <scriptsrc="https://cdn.jsdelivr.net/npm/three@0.128.0/examples/js/controls/OrbitControls.js"></script>

 <script>
 // 场景、相机、渲染器
 const scene = new THREE.Scene();
 const camera = new THREE.PerspectiveCamera(75, window.innerWidth / window.innerHeight, 0.1, 1000);
 const renderer = new THREE.WebGLRenderer({ antialias: true });

        renderer.setSize(window.innerWidth, window.innerHeight);
        renderer.setPixelRatio(window.devicePixelRatio);
 document.getElementById('container').appendChild(renderer.domElement);

 // 设置相机位置
        camera.position.z = 2.5;

 // 添加环境光和方向光
 const ambientLight = new THREE.AmbientLight(0x404040);
        scene.add(ambientLight);

 const directionalLight = new THREE.DirectionalLight(0xffffff, 1);
        directionalLight.position.set(5, 3, 5);
        scene.add(directionalLight);

 // 创建地球
 const earthGeometry = new THREE.SphereGeometry(1, 64, 64);

 // 加载高清地球贴图
 const textureLoader = new THREE.TextureLoader();

 // 使用 NASA 提供的高清地球贴图
 const earthTexture = textureLoader.load('https://raw.githubusercontent.com/mrdoob/three.js/dev/examples/textures/planets/earth_atmos_2048.jpg');
 const earthBumpMap = textureLoader.load('https://raw.githubusercontent.com/mrdoob/three.js/dev/examples/textures/planets/earth_normal_2048.jpg');
 const earthSpecularMap = textureLoader.load('https://raw.githubusercontent.com/mrdoob/three.js/dev/examples/textures/planets/earth_specular_2048.jpg');

 const earthMaterial = new THREE.MeshPhongMaterial({
 map: earthTexture,
 bumpMap: earthBumpMap,
 bumpScale: 0.05,
 specularMap: earthSpecularMap,
 specular: new THREE.Color('grey')
        });

 const earth = new THREE.Mesh(earthGeometry, earthMaterial);
        scene.add(earth);

 // 添加云层
 const cloudGeometry = new THREE.SphereGeometry(1.01, 64, 64);
 const cloudTexture = textureLoader.load('https://raw.githubusercontent.com/mrdoob/three.js/dev/examples/textures/planets/earth_clouds_1024.png');
 const cloudMaterial = new THREE.MeshPhongMaterial({
 map: cloudTexture,
 transparent: true,
 opacity: 0.4
        });

 const clouds = new THREE.Mesh(cloudGeometry, cloudMaterial);
        scene.add(clouds);

 // 创建星空背景
 const starGeometry = new THREE.BufferGeometry();
 const starCount = 10000;

 const positions = newFloat32Array(starCount * 3);

 for (let i = 0; i < starCount * 3; i += 3) {
            positions[i] = (Math.random() - 0.5) * 100;
            positions[i + 1] = (Math.random() - 0.5) * 100;
            positions[i + 2] = (Math.random() - 0.5) * 100;
        }

        starGeometry.setAttribute('position', new THREE.BufferAttribute(positions, 3));

 const starMaterial = new THREE.PointsMaterial({
 color: 0xffffff,
 size: 0.1
        });

 const stars = new THREE.Points(starGeometry, starMaterial);
        scene.add(stars);

 // 添加轨道控制器
 const controls = new THREE.OrbitControls(camera, renderer.domElement);
        controls.enableDamping = true;
        controls.dampingFactor = 0.05;
        controls.minDistance = 1.5;
        controls.maxDistance = 10;
        controls.enablePan = true;

 // 处理窗口大小变化
 window.addEventListener('resize', () => {
            camera.aspect = window.innerWidth / window.innerHeight;
            camera.updateProjectionMatrix();
            renderer.setSize(window.innerWidth, window.innerHeight);
        });

 // 动画循环
 functionanimate() {
            requestAnimationFrame(animate);

 // 地球自转
            earth.rotation.y += 0.002;

 // 云层自转(稍快一些)
            clouds.rotation.y += 0.0025;

 // 更新控制器
            controls.update();

            renderer.render(scene, camera);
        }

        animate();
 </script>
</body>
</html>
文章来自公众号“小林AI编程”,作者“亦辰&小林”
【开源免费】Browser-use 是一个用户AI代理直接可以控制浏览器的工具。它能够让AI 自动执行浏览器中的各种任务,如比较价格、添加购物车、回复各种社交媒体等。
项目地址:https://github.com/browser-use/browser-use
【开源免费】AutoGPT是一个允许用户创建和运行智能体的(AI Agents)项目。用户创建的智能体能够自动执行各种任务,从而让AI有步骤的去解决实际问题。
项目地址:https://github.com/Significant-Gravitas/AutoGPT
【开源免费】MetaGPT是一个“软件开发公司”的智能体项目,只需要输入一句话的老板需求,MetaGPT即可输出用户故事 / 竞品分析 / 需求 / 数据结构 / APIs / 文件等软件开发的相关内容。MetaGPT内置了各种AI角色,包括产品经理 / 架构师 / 项目经理 / 工程师,MetaGPT提供了一个精心调配的软件公司研发全过程的SOP。
项目地址:https://github.com/geekan/MetaGPT/blob/main/docs/README_CN.md
【开源免费】LangGPT 是一个通过结构化和模板化的方法,编写高质量的AI提示词的开源项目。它可以让任何非专业的用户轻松创建高水平的提示词,进而高质量的帮助用户通过AI解决问题。
项目地址:https://github.com/langgptai/LangGPT/blob/main/README_zh.md
在线使用:https://kimi.moonshot.cn/kimiplus/conpg00t7lagbbsfqkq0